Basic constructions
Inscribing and rotating squares within each other, a method known as quadrature, was part of ad quadratum - a medieval architectural design system based on the geometry of the square. Quadrature can double a square or create another, half its size, within the given square.
Thirteenth century Portfolio of Villard includes reference to quadrature, as does a handbook by the fifteenth century master builder of cathedrals Matthäus Roritzer (Roriczer). However, this method of doubling/halving a square is much older. Plato refers to it in his dialogue Meno and later was paraphrased by the Roman architect and engineer Vitruvius.
Within the context of the Cosmatesque ornaments quadrature will be used to construct the Quincunx and to draw patterns based on the square.

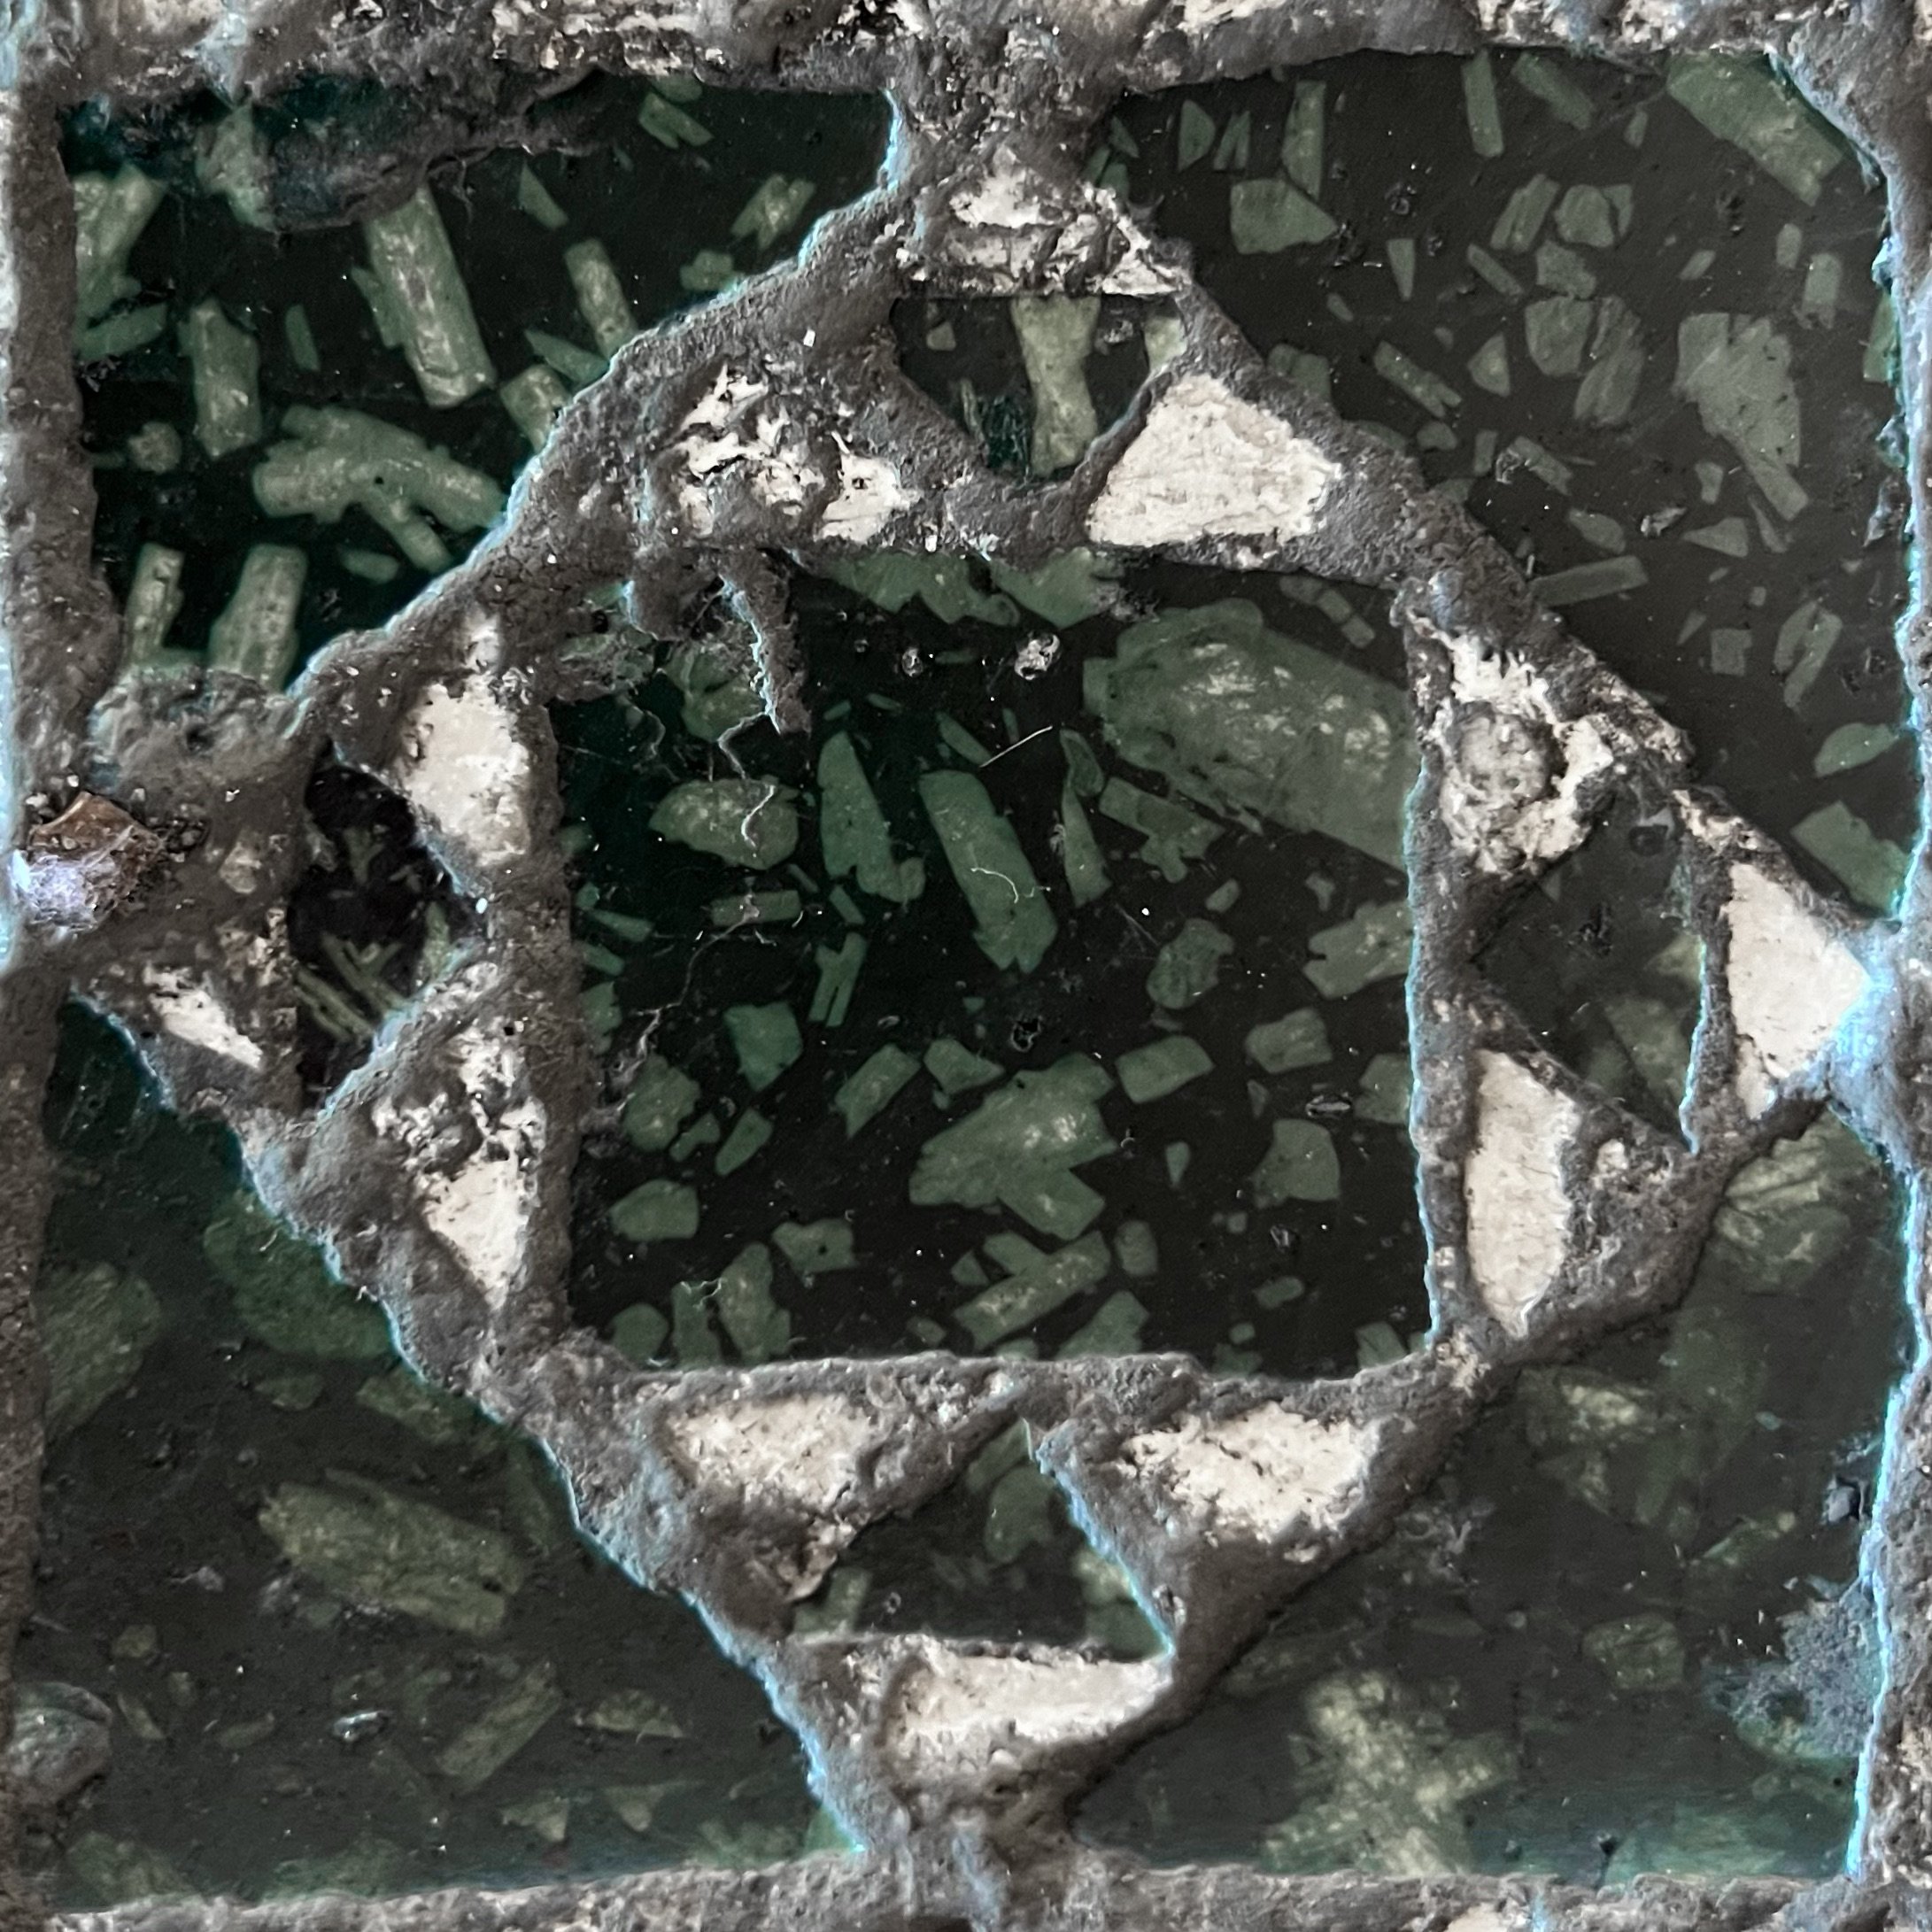
Face of a Roman glass bead from early Imperial period, 1.3 x 1.3cm in size, now at The Met Museum, NY. Its decoration uses the square inside square arrangement.
Cosmatesque pattern unit with the diminishing square arrangement produced by the quadrature method. Part of a 13th century floor at the Basilica di Santa Maria in Ara Coeli, Rome.

Quadrature construction in the Büchlein von der Fialen Gerechtigkeit by Matthäus Roritzer printed in Regensburg in 1486.
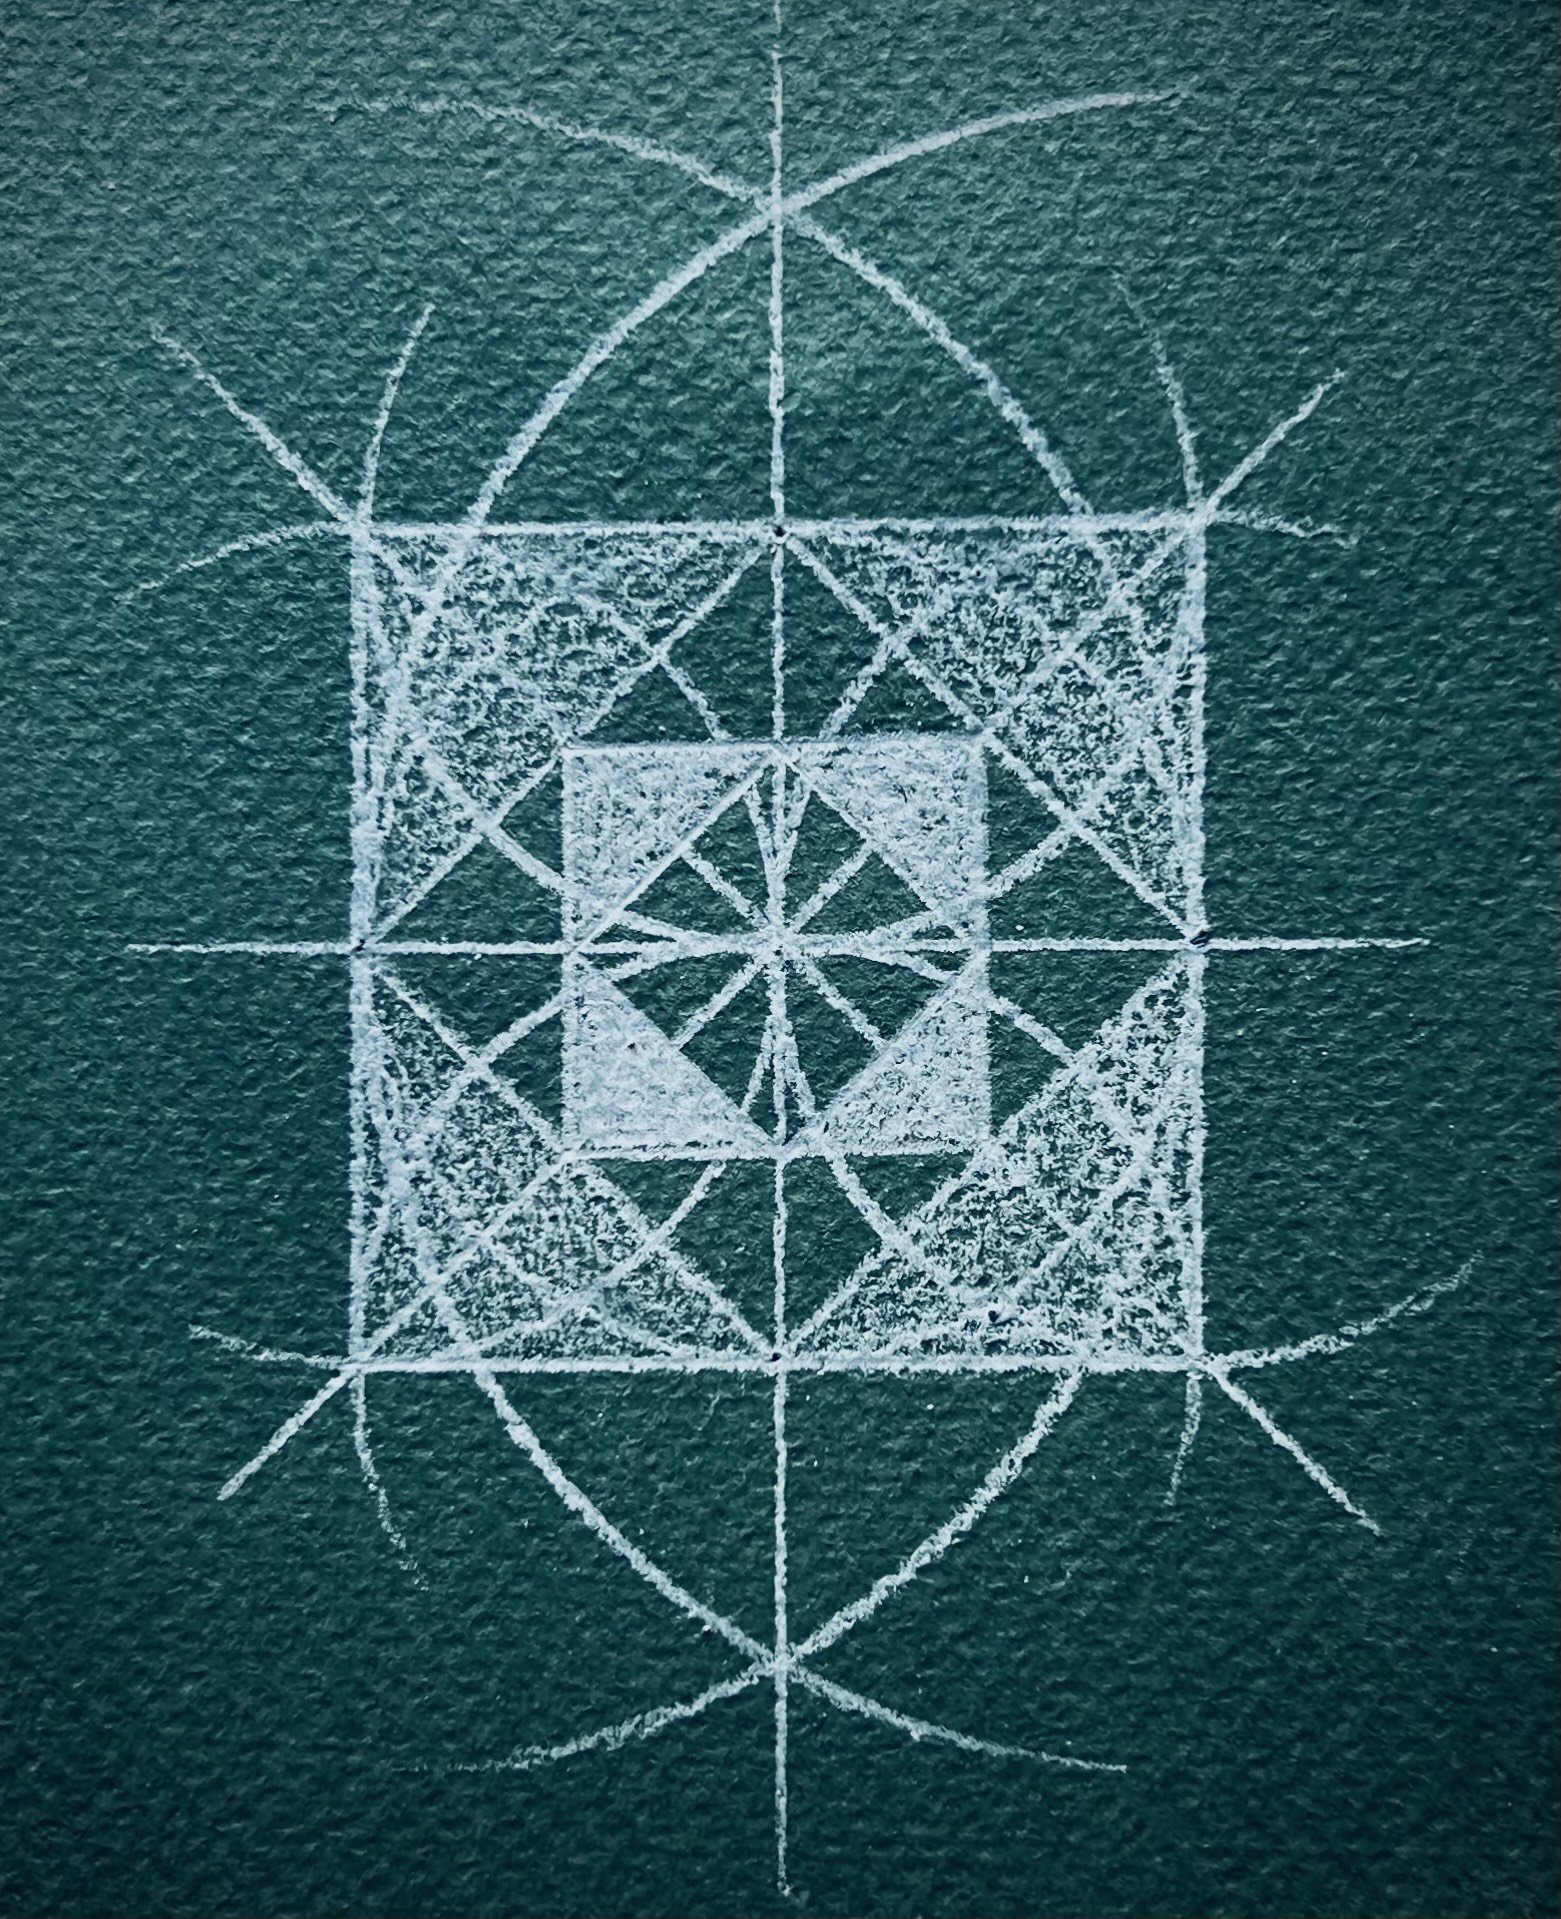
Quadrature - squares within squares
Materials:
compass
30cm ruler
H or 2H pencil
A4 printer paper
card or cutting mat
eraser
Notes:
place the A4 paper in portrait orientation
use radius of approx. 7 cm, but keep in mind that this construction works regardless of the radius length and can be scaled up or down according to needs
it is recommended to first practice the circle division into four construction before preceding with the below instructions
please use the contact button should you have any queries or would like to share your work


1) Place the A4 paper in portrait oriention. Find the approximate middle of the page and draw a circle with radius approx. 7cm Mark the centre as point Z.
2) Draw a horizontal line across the circle, extend through the circumference on both left and right. Make sure this line accurately crosses centre point Z. Mark intersections A and B.

3) Place compass needle in point A and with the original radius, AZ, mark intersections on the circle circumference - above and below.

4) Mirror the previous action with the compass needle in point B.

5) Name the new intersections as points C, D, E and F.

6) With compass needle in point C, using the original radius, AZ, mark a notch above the circle. Mirror this action with the compass needle in point D to gain an intersection above the circle - point G.

7) Mirror actions described in step 6 from points E and F. This will give an intersection below the circle - point H.

8) Join points G with H with a vertical line. The line must cross centre point Z accurately. This line is the vertical axis of the whole construction.

9) Find the points where the vertical axis line crosses the circle circumference above and below. Mark these two intersections as points I and J.

10) With the original radius, AZ, draw an arch from each of the points A, I, B and J. These arches must cross centre point Z accurately. The arches need to be approx. 2/3 of a circle. Four petal shapes will be thus created.

11) Identify tip points of each of the four petal shapes. These are marked with larger dots.

12) Join tips of the petal shapes to gain the main, largest square. The top horizontal line will pass through point I, the bottom horizontal through point J. The left vertical line will pass through point A and the right vertical line through point B.

13) The square hence constructed is shown in grey.

14) To draw the next square, diminishing in size, join in a consecutive manner points A - I - B - J - A. This will give a dynamic square inside the large static square.

15) The inner, dynamic square is half the size of the outer, static square. This proportional relationship is easily visible when triangles inside them are counted. Eight fit in the large, static square and four in the inner, dynamic square.

16) The side length of the larger square is also the same length as the diagonal of the square it contains.

17) To continue join the upper-left corner of the main square with the lower-right corner. This adds a diagonal axis to the construction. The line must cross centre point Z accurately.

18) Mirror the previous action by joining upper-right corner with the lower-left corner of the main square. Again, the line must cross centre point Z accurately.

19) There are now four static squares inside the main square. Each of these squares has a mid-point where its diagonals meet.

20) Identify each of the four x-shaped mid-points. These are marked with larger dots.

21) Join these points to gain a static square inside the dynamic square.

22) The new square is shown in grey.

23) On the vertical and horizontal axes identify points where the axes lines intersect with the static square just drawn. These four intersections are marked with larger dots.

24) Join these intersections to gain the innermost, final diminishing square.

25) The new square is shown in grey.

26) The quadrature construction can continue. However, the created grid is sufficient to draw a simple Quincunx, as well as units of the square based Cosmatesque ornaments.

27) The four diminishing squares are shown shaded for easy distinction. Two of the squares are static and two are dynamic.